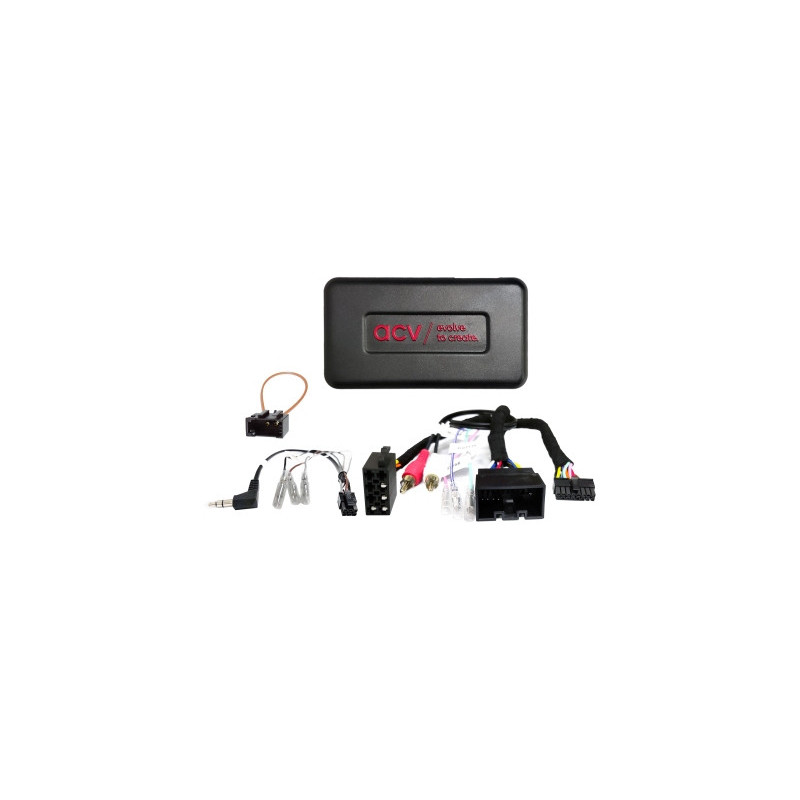

Steering wheel control adapter for land rover discovery iv (la) / range rover sport i (ls) amplifier most

Steering wheel control adapter for land rover discovery iv (la) / range rover sport i (ls) amplifier most
Guarantee
12 month
Delivery from Europe in
4 - 14
business days
When replacing the factory radio with an aftermarket radio, the original functions of the steering wheel remote control must be retained. Depending on the vehicle's equipment and the scope of functions and software of the retrofit device, individual operating functions may be omitted or replaced by other functions. Compare the adapter plugs shown with those in your vehicle and ensure they match visually and technically. Also check whether one of the listed original factory radios is installed in your vehicle. Before final installation, check vehicle operation, vehicle settings and the steering wheel remote control for functionality. Note: CAN bus connection 20-pin Land Rover connector Connection: OEM steering wheel remote control > 3.5 mm socket / loose wire Connection: OEM MOST sound system > Cinch(m) red/white Vehicles with OEM MOST sound system Vehicle settings not supported Settings: date/time not supported OEM display not supported Land Rover start-up logo displayed Fader function not supported: Cinch(m) > front preamplifier output Aftermarket radio aftermarket DIP switch settings for aftermarket device manufacturer (see BDA)Make and model:xa0 Land Rover Discovery IV (LA) 09/2009 - 11/2013 Land Rover Range Rover Sport I (LS) 09/2009 - 08/2013The following signals are provided: Re-imported vehicles or vehicles with different software may be incompatible in terms of function. Red: +12V ignition terminal 15 Orange: +12V lighting terminal 58 Purple/White: +12V reversing signal Pink: speed signal Green: ground GND handbrake signal Output load capacity: max. 250 mA Current demand greater than 250 mA: 1 relay coil resistance min. 75 Ohm 2 relay coil resistance min. 150 Ohm Steering Wheel Remote Control OEM Sound System > Fader function not supportedxa0General Installation Instructions:Check:1: Check all operational functions and vehicle settings functions of the OEM device2: Dismantle the OEM device with the power off3: Check the correctness and continuity of all interface connections with the power offConnection and Connection Order:1: Perform the interface hardware settings and configuration with the power off2: Check the radio connection cable configuration3: Connect the radio connection cable according to the retrofit device user manual4: Connect all other connections according to the retrofit device user manual5: Connect the entire installation to the vehicle, connecting the last connection under voltage6: Configure the interface software according to the instructions in the article text and in the BDA7: Configure the retrofit device according to the retrofit device user manual steering wheel control/camera/HFCE/antenna phantom power and others8: Test the operation of the steering wheel remote control and the vehicleChanges to the interface hardware configuration and the radio connection cable:1: Make changes with the power off2: Connect after changes see above 5 to 8In the event of a failure of the interface or vehicle:1: Return to the OEM device2: Start the OEM device3: Create a break in the CAN bus4: Check the hardware configuration of the interface5: Connect after a break in the CAN bus see above 5 to 8Connections specified in the information text or operating instructions, connection changes, alternative connections, connections of loose cables or Connection Extensions of loose cables are intended solely for information and guidance purposes for trained personnel.Further connections, changes to the wiring configuration of the wiring harness or the use of alternative connections or connection extensions:1: Connections and modifications may only be carried out by trained personnel.2: Connections and modifications must be checked for any manufacturer approvals or manufacturer warranty conditions that may be affected by the changes.3: Connections and modifications must be checked for functionality and accuracy by measuring and comparing them with the vehicle wiring diagram.4: Connections and modifications are carried out at your own risk and without any guarantee of functionality.5: Connections and modifications are carried out at your own risk and without any guarantee of functionality. warranty for damage to the vehicle, retrofit device, or interface.6: Modifications to the pre-assembled wiring harness may void the product warranty.