

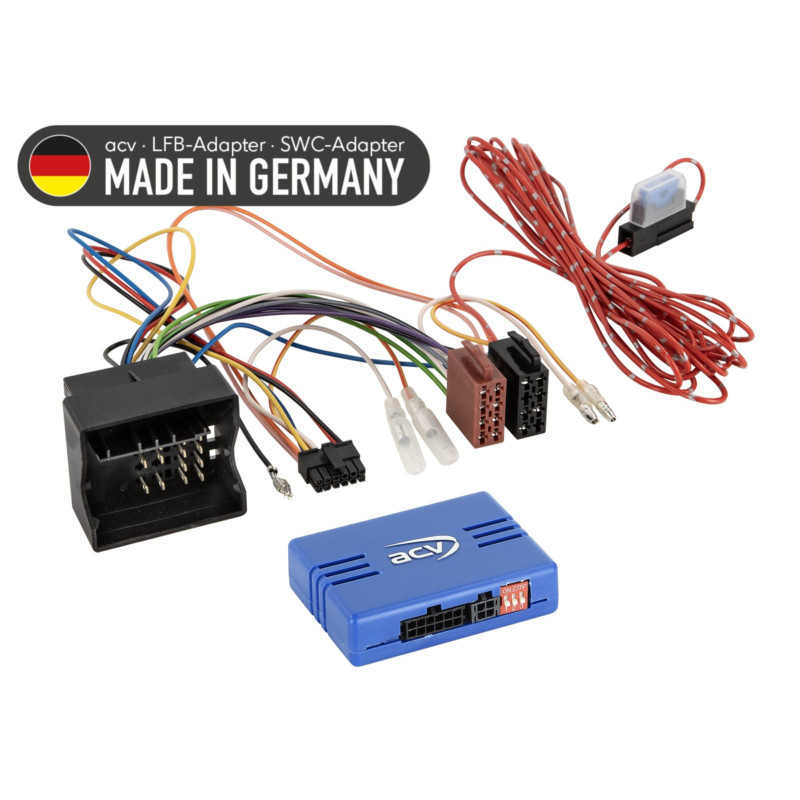

Steering wheel adapter for Mercedes C-class/E-class/Vito/VW Crafter Quadlock
Steering wheel adapter for Mercedes C-class/E-class/Vito/VW Crafter Quadlock
Guarantee
12 month
Delivery from Europe in
7 - 12
business days
Mercedes / VW steering wheel adapter
The adapter allows you to retain the original steering wheel control functions when replacing the factory radio with a retrofitted head unit.
Supports the busCANand ensures compatibility with selected OEM audio systems.
Product features
Maintaining basic SWC functions (on some systems only volume control).
Service40-pin Quadlock connector.
Configurable via DIP switches.
Diagnostic LED:
flashing - searching for CAN bus
permanent - active CAN bus
- active ignition current +12V
Compatible with many HU manufacturers (Alpine, Blaupunkt, JVC, Kenwood, Pioneer, Sony, Clarion and others).
Vehicle compatibility
Mercedes
C-Class (C204/S204/W204) 2007-2015
E-Class (A212/C212/S212/W212) 2009-2017
Vito (W447) 2014-2024
Sprinter / V-Class
VW
Crafter I (2EC/2EK/2F) 2011-2016
(Details depend on HU version - check before installation.)
Important information
In the systemAudio 10only volume control available.
For some OEM units (e.g. Audio 30, Audio 40), the OEM reverse camera is not supported.
In models with the systemE-Callthe function is preserved.
Before installation, please compare the wiring harness connectors with the photos and check the originally installed radio.
Assembly instructions - summary
Check the operation of the original HU.
Disconnect the HU from the power supply and make connections according to the instructions.
Connect the main connector last.
Configure interface and HU.
Perform SWC functionality test.